Cal.com
Connect your Cal.com account to let your voice assistants check availability and book appointments in real time without any human intervention.
Overview
| Property | Details |
|---|---|
| Type | Calendar |
| Auth method | API Key |
| Use case | Scheduling & booking |
| Conferencing | Google Meet (default) |
Prerequisites
Before connecting Cal.com, make sure you have:
- A Cal.com (opens in a new tab) account see Create a Cal.com account below if you don't have one yet
- At least one Event Type configured in your Cal.com dashboard with Google Meet set as the conferencing provider
- An API key generated from Cal.com settings
Create a Cal.com account
-
Go to cal.com (opens in a new tab) and click Get started for free.
-
Sign up with your email or an existing Google/GitHub account.
-
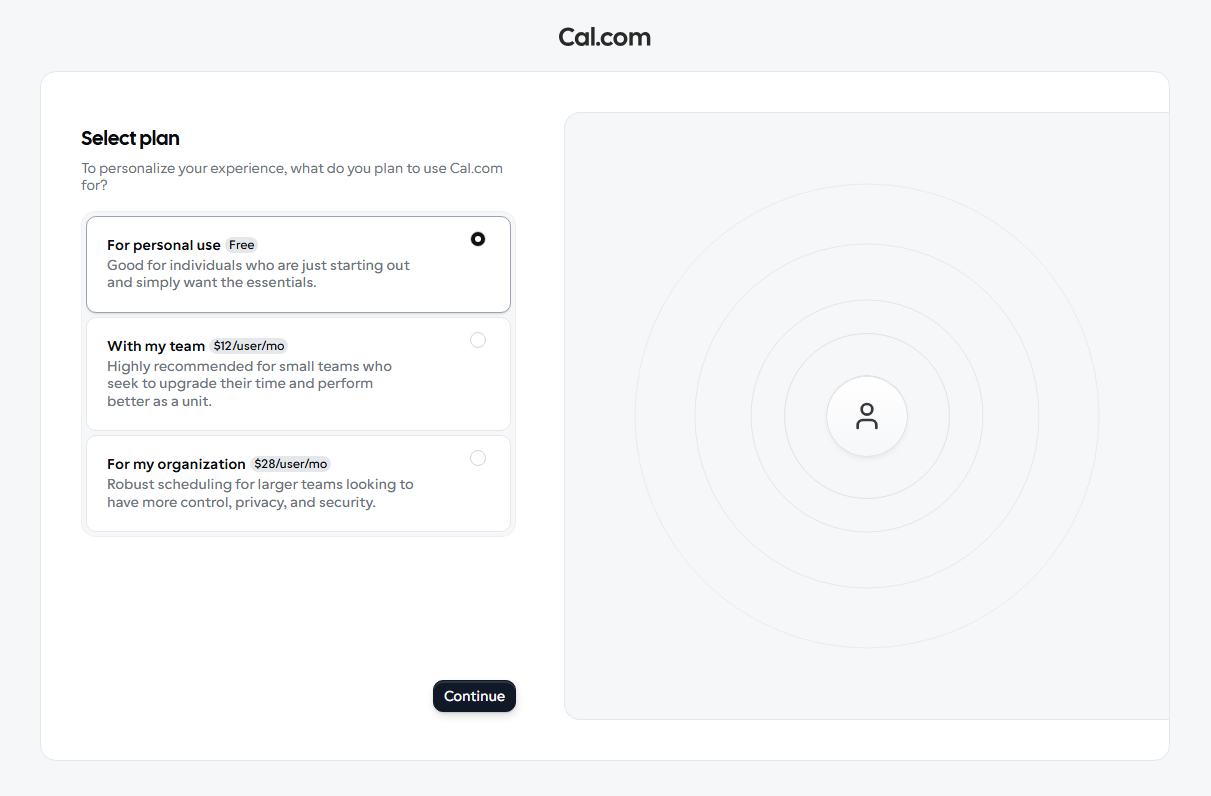
On the Select plan screen, choose For personal use (Free) to get started, or select a paid plan if your team needs advanced features.
-
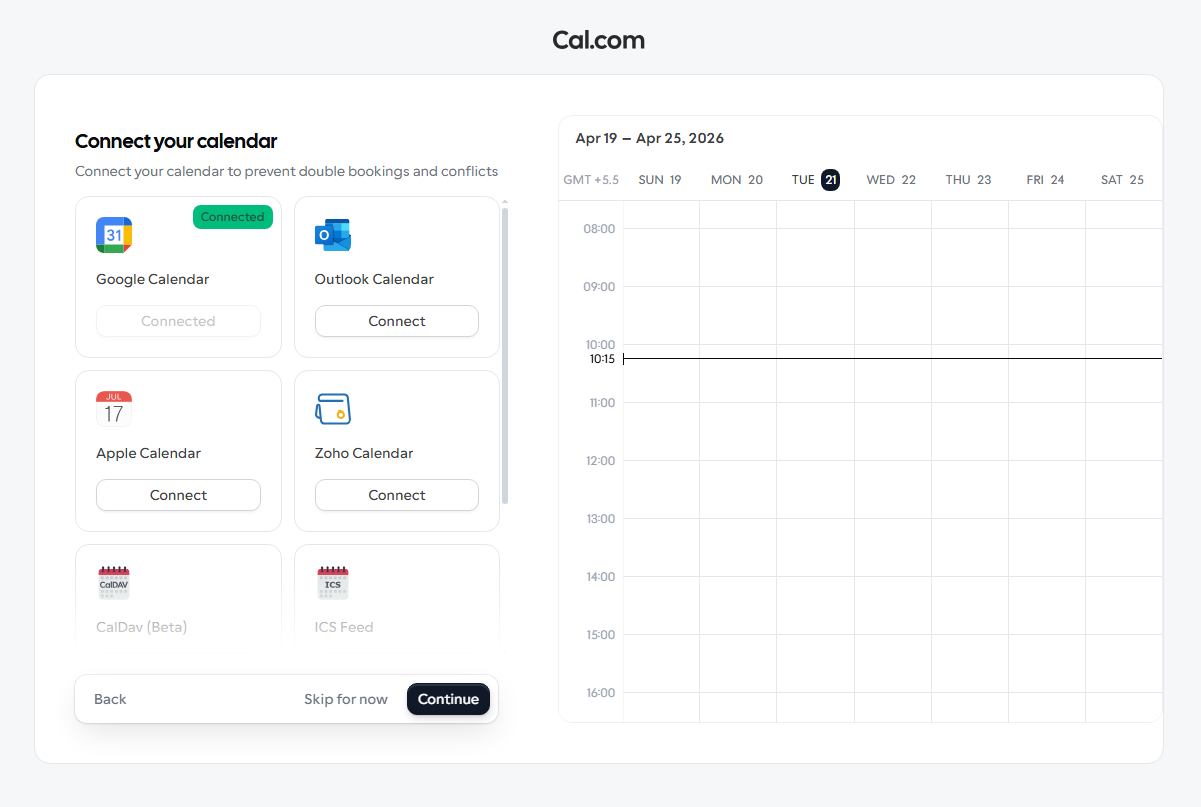
On the Connect your calendar screen, click Connect next to Google Calendar to link your Google account this also enables Google Meet for all future bookings.
-
Click Continue to finish onboarding.
Once your account is set up, proceed with generating an API key in the steps below.
Your project currently uses Google Meet as its conferencing provider. When Cal.com creates a booking, it automatically generates a Google Meet link and includes it in the confirmation email sent to the caller.
Setup
Create an Event Type with Google Meet
Start by creating an Event Type in Cal.com and adding Google Meet as its location. This is what allows the Real Time Booking action in your assistant to surface a GMeet link option.
- Log in to your Cal.com (opens in a new tab) account and go to Event Types.
- Click New to create an event type (e.g.,
sprint meeting), set a title and duration, then click Create. - Inside the event editor, scroll down to Location.
- Click + Add a location and select Google Meet from the list.
- Click Save to apply.
If you do not add Google Meet as a location inside the Event Type, the GMeet option will not appear in the Real Time Booking panel in your assistant. In that case, Cal.com will fall back to its default Cal Video link for the meeting. To use Google Meet instead, make sure it is explicitly added as a location on the Event Type.
Generate a Cal.com API key
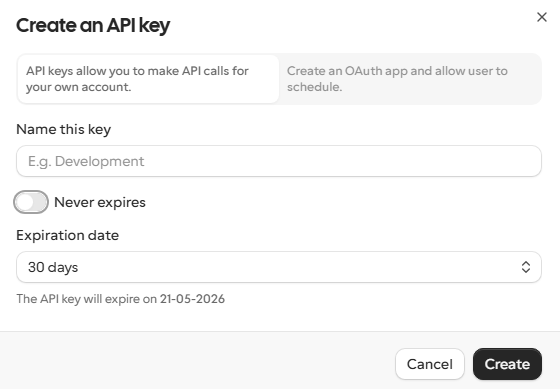
- Go to Settings → Developer → API Keys.
- Click Add and give the key a descriptive name (e.g.,
voice-assistant). - Set an expiration date or toggle Never expires if preferred.
- Click Create and copy the key you won't be able to see it again.
Connect in your dashboard
- Navigate to the Integrations tab in your dashboard.
- Click on Cal.com from the provider list.
- Paste your API key into the API Key field.
- Click Connect.
Create an event in Real Time Booking
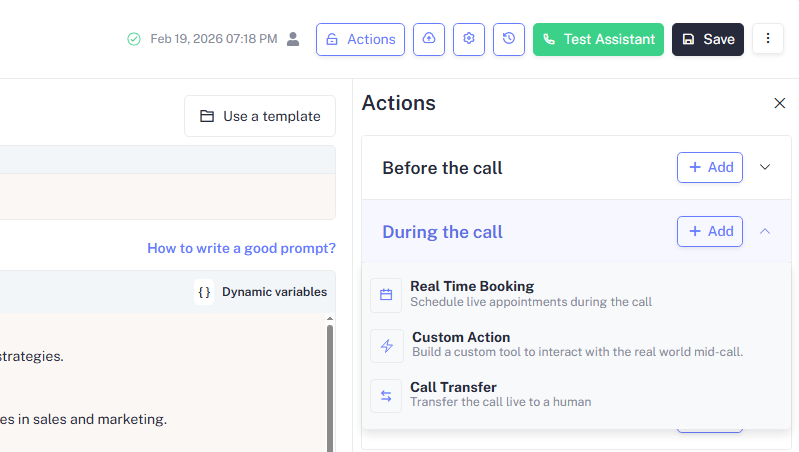
- Open your Assistant and click Actions in the top bar.
- Under During the call, click + Add and select Real Time Booking.
- In the Real Time Booking panel, select Cal.com you should see a Cal.com Connected confirmation if your API key was set up correctly.
- Under Event, choose the Cal.com event type you want the assistant to book (e.g.,
Test-V2). - Click Save in the top bar to apply the changes.
- For more details on configuring Real Time Booking actions, see Real Time Booking.
Your assistant will only book event types you explicitly assign to it. Unassigned event types remain hidden from the assistant.
How it works
Once connected, your assistant gains access to two tools:
| Tool | Description |
|---|---|
check_availability | Queries open slots for a given event type and date range |
create_booking | Creates a confirmed booking with a Google Meet link on behalf of the caller |
The assistant calls these tools automatically during a conversation when a caller expresses intent to schedule a meeting. The confirmation email sent to the caller will include the Google Meet link generated by Cal.com.
Example conversation
Caller: I'd like to schedule a demo for next Tuesday afternoon.
Assistant: Sure! I have openings at 2:00 PM and 3:30 PM on Tuesday. Which works best for you?
Caller: 3:30 PM please.
Assistant: Done! I've booked a demo for Tuesday at 3:30 PM. You'll receive a confirmation email with the Google Meet link shortly.
Disconnecting
To remove the Cal.com integration:
- Go to Integrations in your dashboard.
- Click on Cal.com → Disconnect.
- Confirm the action.
Disconnecting will immediately disable the check_availability and
create_booking tools on all assigned assistants.
Troubleshooting
The assistant says no slots are available, but Cal.com shows open times. Ensure the Event Type assigned to the assistant is published (not in draft) and that the date range queried falls within your Cal.com availability window.
Bookings are created but no Google Meet link is included. Make sure Google Calendar is connected in your Cal.com settings under Settings → Calendars. The Meet link is only generated when a Google Calendar integration is active. Re-connecting Google Calendar and then retrying the booking should resolve this.
Bookings are failing silently. Double-check that your API key has not been revoked. Regenerate it from Cal.com settings and update the key in your dashboard.
The assistant is booking in the wrong timezone. Verify that the timezone set on your Cal.com Event Type matches the expected timezone of your callers.