Calendly
Connect your Calendly account to enable your voice assistants to check real-time availability and book meetings all within a natural conversation.
Overview
| Property | Details |
|---|---|
| Type | Calendar |
| Auth method | Personal Access Token |
| Use case | Scheduling & booking |
| Conferencing | Google Meet or Zoom |
Prerequisites
Before connecting Calendly, make sure you have:
- A Calendly (opens in a new tab) account see Create a Calendly account below if you don't have one yet
- At least one active Event Type configured in your Calendly dashboard with Google Meet or Zoom set as the meeting location
- A Personal Access Token generated from Calendly's integrations settings
Create a Calendly account
-
Go to calendly.com (opens in a new tab) and click Get started for free.
-
Sign up with your email or an existing Google account.
-
Complete the onboarding steps to set up your profile and timezone.
-
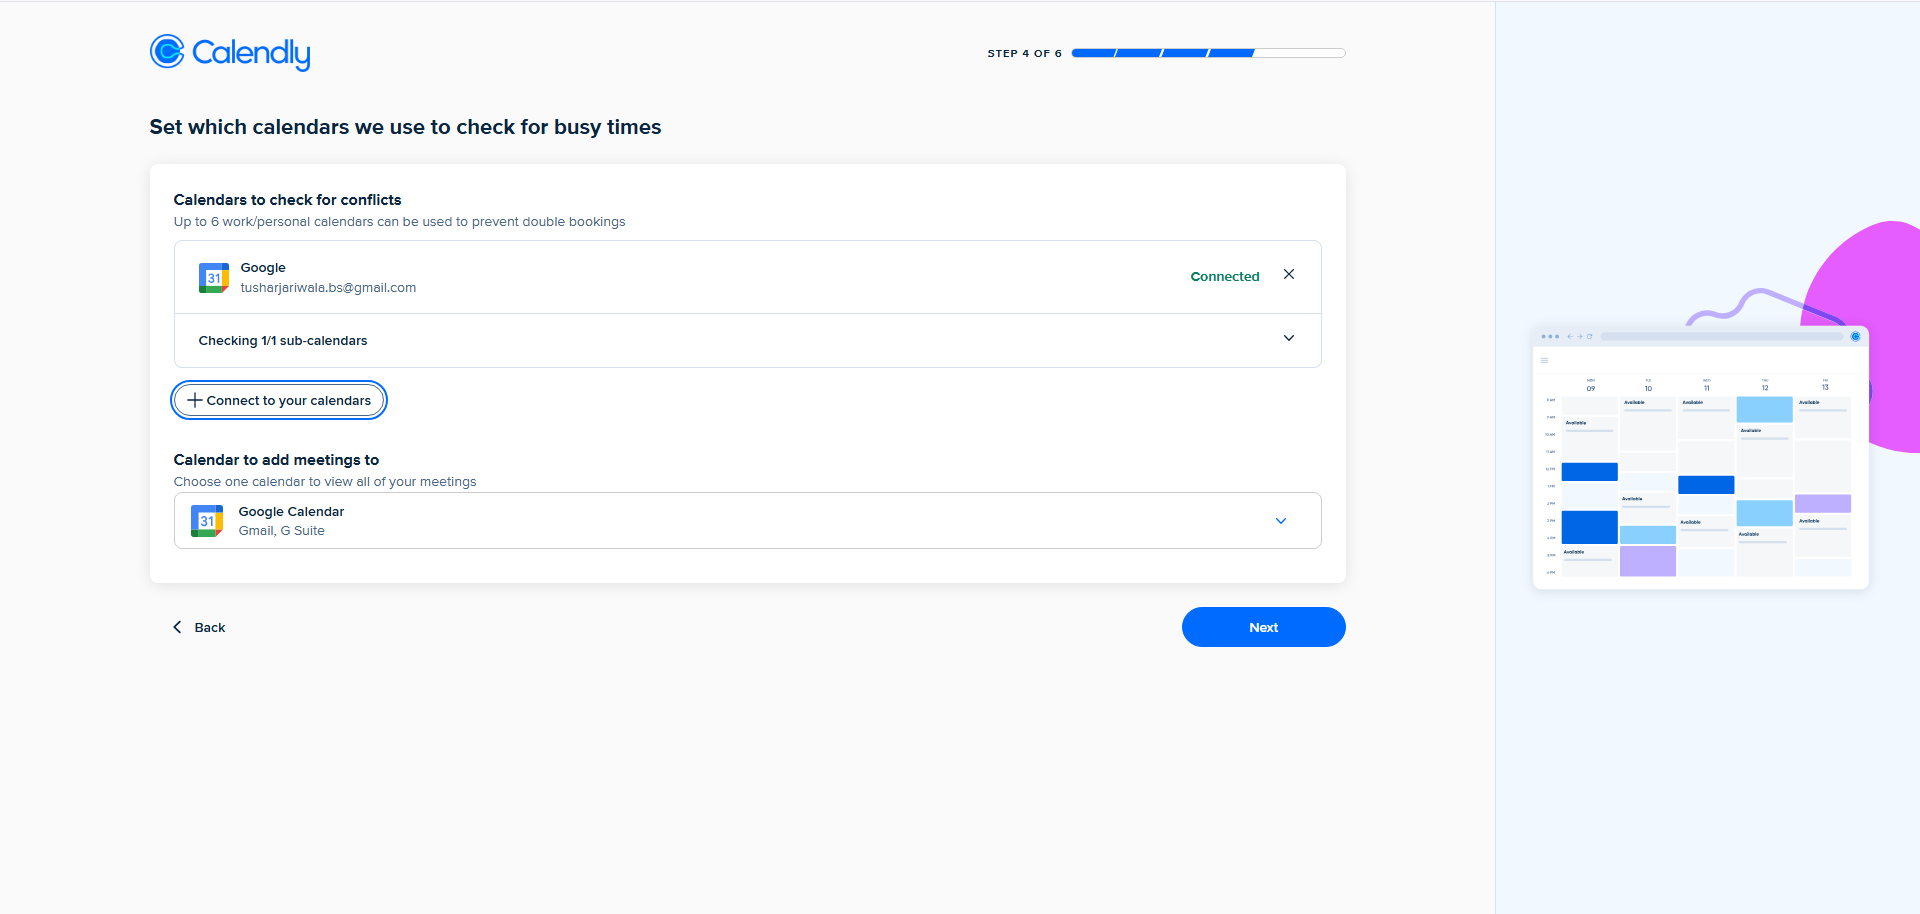
On the Set which calendars we use to check for busy times screen (Step 4 of 6), connect your Google Calendar to prevent double bookings.
-
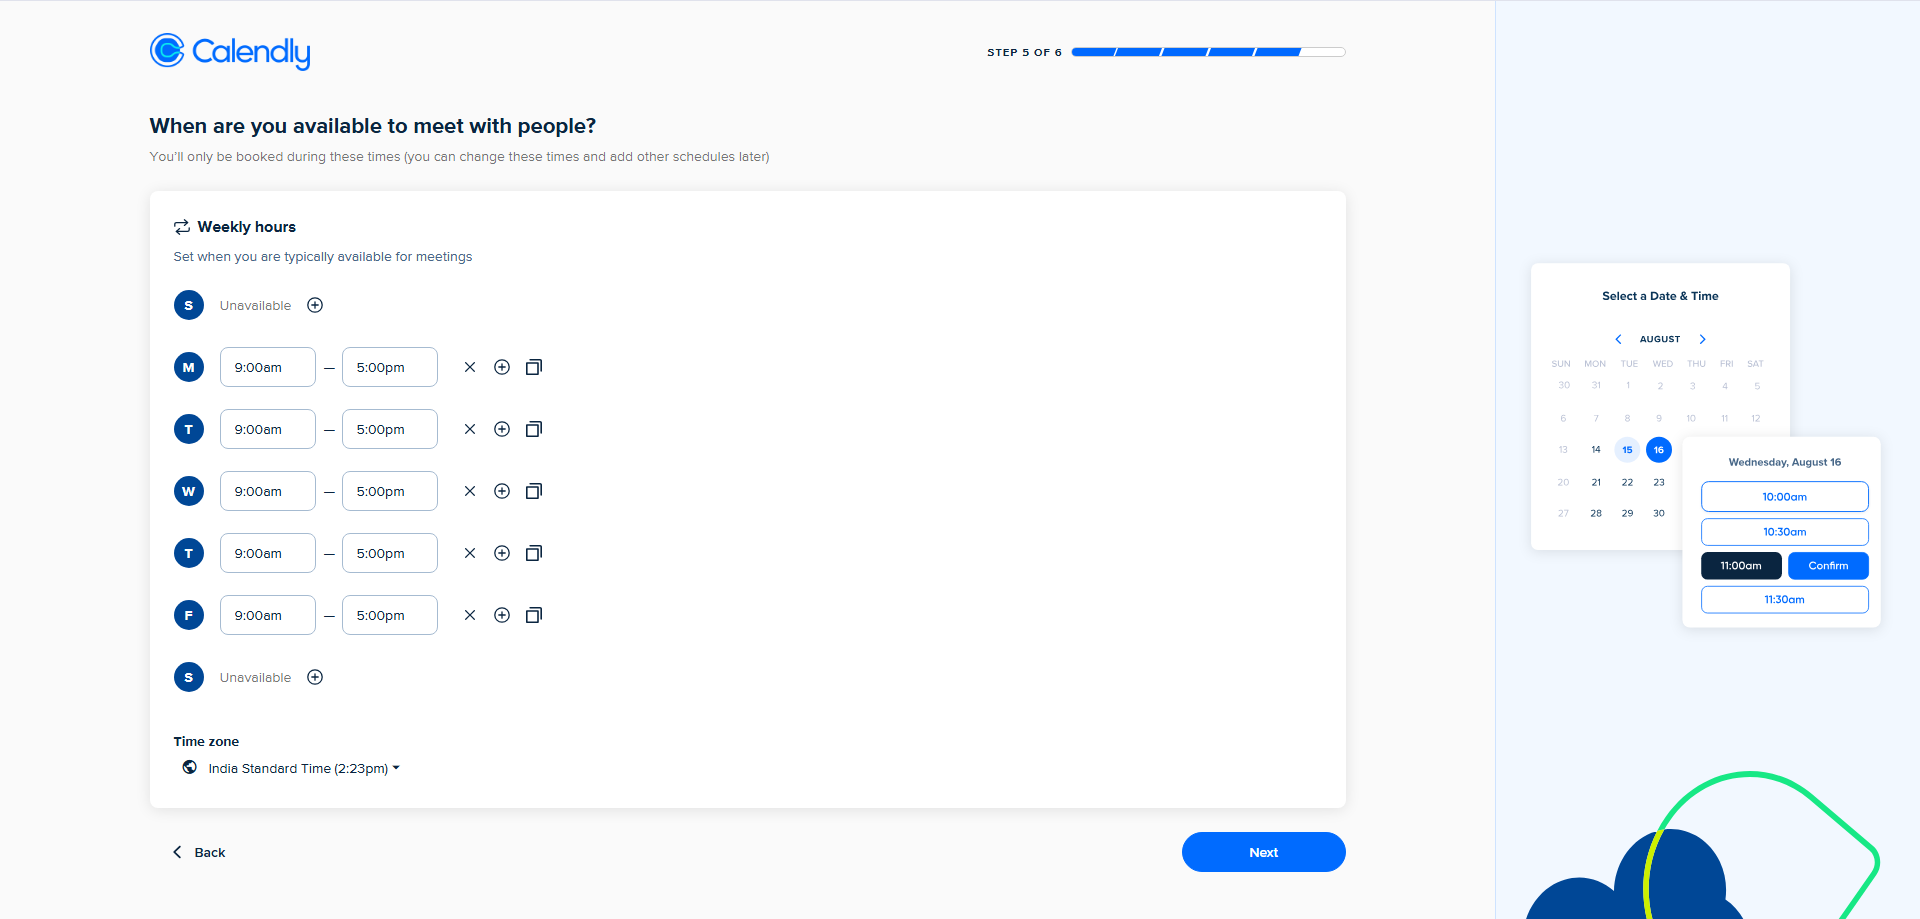
On the When are you available to meet with people? screen (Step 5 of 6), set your weekly availability hours and confirm your timezone.
-
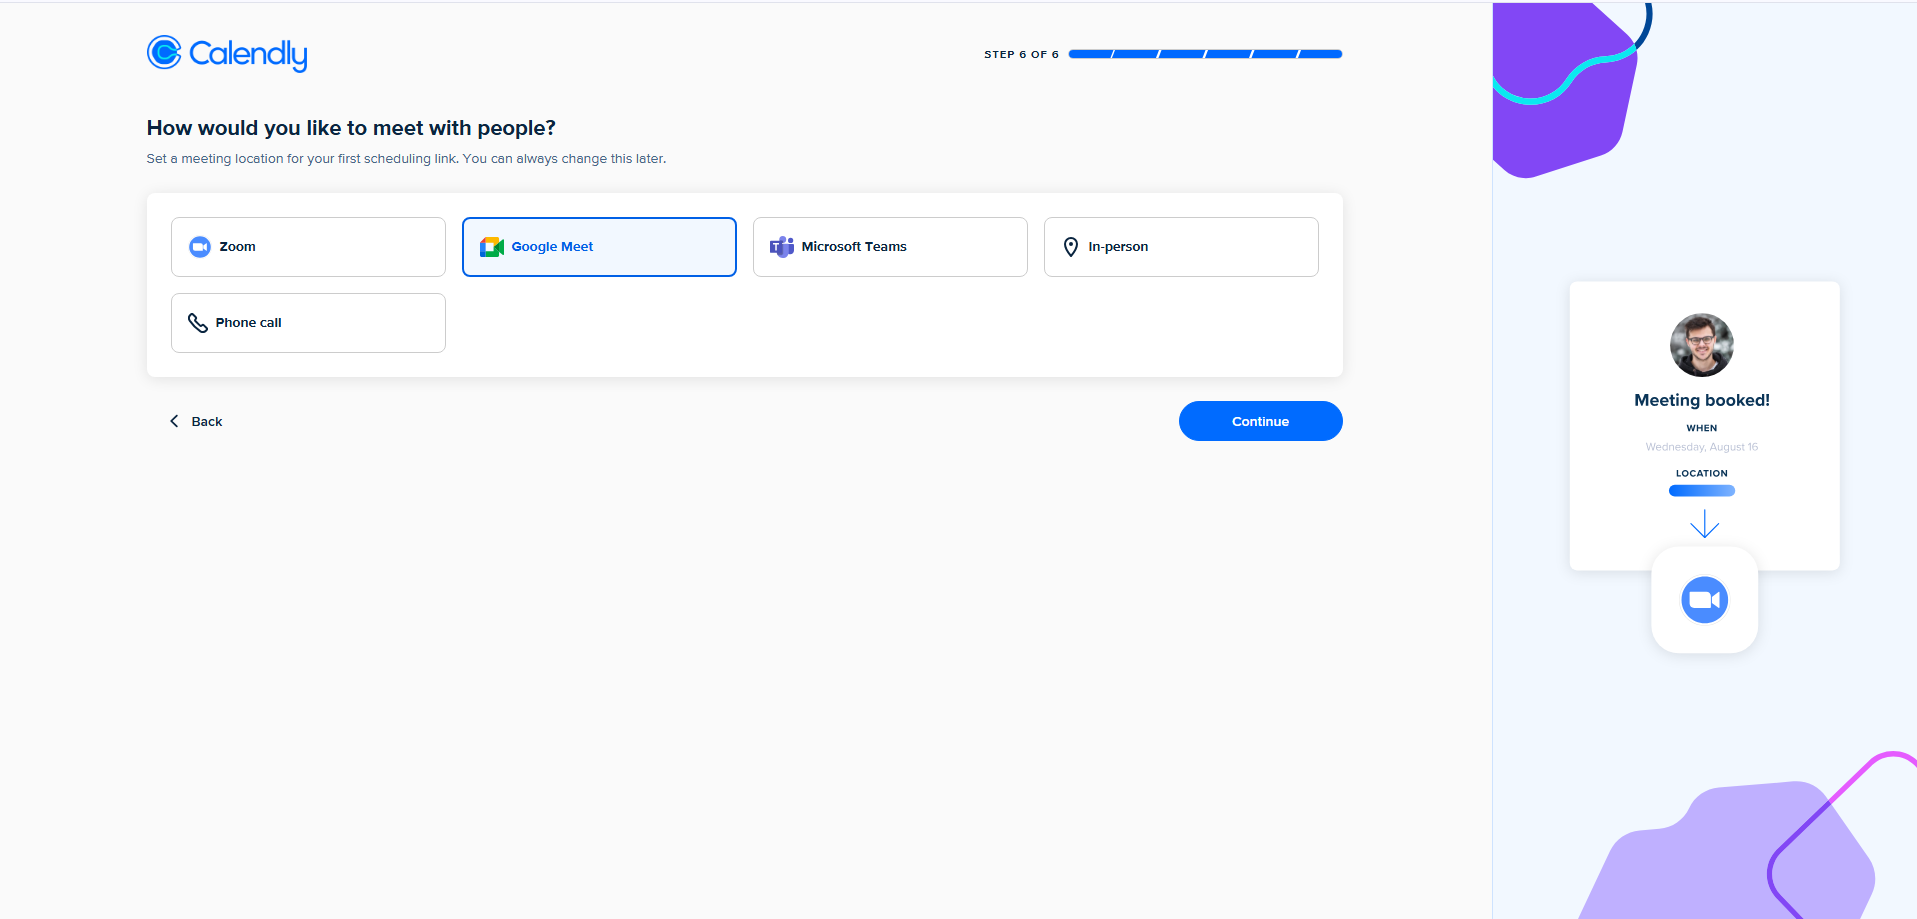
On the How would you like to meet with people? screen (Step 6 of 6), select either Google Meet or Zoom as your meeting location and click Continue.
Once your account is set up, proceed with generating a Personal Access Token in the steps below.
Your project supports Google Meet and Zoom as conferencing providers. When Calendly creates a booking, it automatically generates a meeting link for whichever provider is set on the Event Type, and includes it in the confirmation email sent to the caller.
Setup
Generate a Calendly Personal Access Token
-
Log in to your Calendly (opens in a new tab) account.
-
Go to Integrations & apps → API & Webhooks.
-
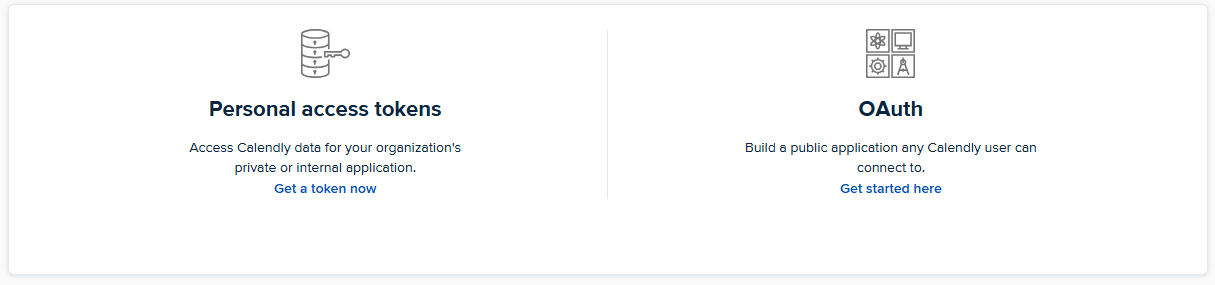
Under Personal access tokens, click Get a token now.
-
In the Create a personal access token dialog, enter a name (e.g.,
Sprint meeting).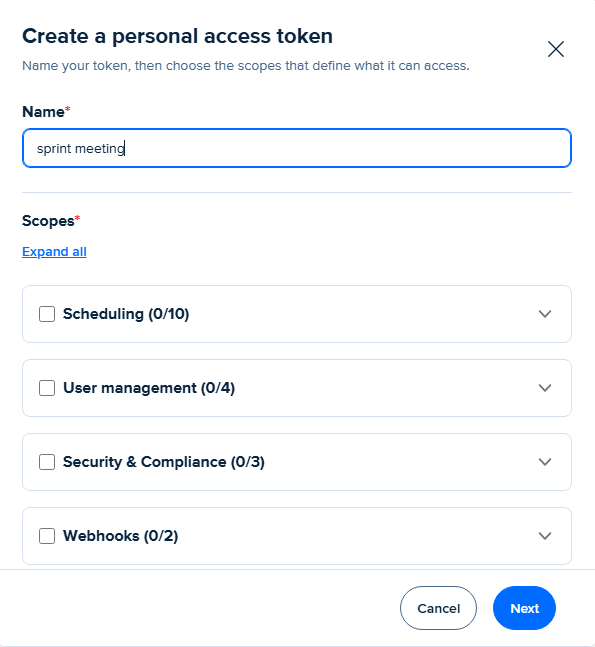
-
Under Scopes, enable at minimum:
- Scheduling required to check availability and create bookings
- User management required to identify the connected account
-
Click Next, then copy the token you won't be able to see it again.
Connect in your dashboard
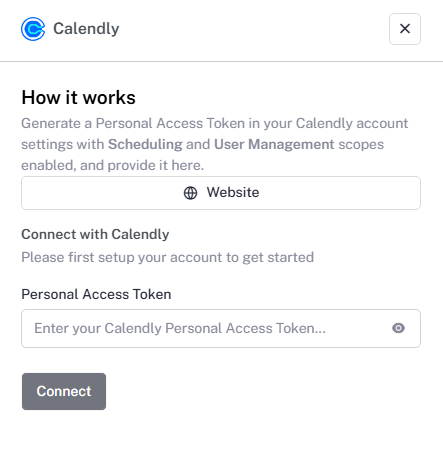
- Navigate to the Integrations tab in your dashboard.
- Click on Calendly from the provider list.
- Paste your Personal Access Token into the Personal Access Token field.
- Click Connect.
Create an event in Real Time Booking
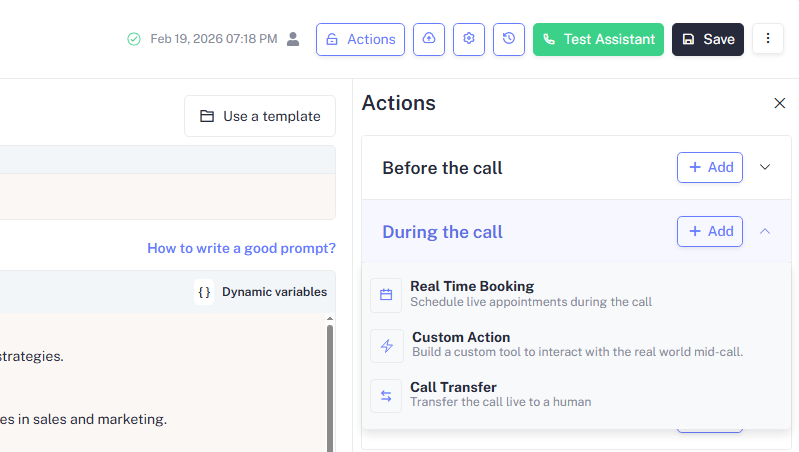
- Open your Assistant and click Actions in the top bar.
- Under During the call, click + Add and select Real Time Booking.
- In the Real Time Booking panel, select Calendly you should see a Calendly Connected confirmation if your token was set up correctly.
- Under Event, choose the Calendly event type you want the assistant to book.
- Click Save in the top bar to apply the changes.
- For more details on configuring Real Time Booking actions, see Real Time Booking.
Your assistant will only book event types you explicitly assign to it. Unassigned event types remain hidden from the assistant.
Want to support multiple booking scenarios? You can create multiple Event
Types in Calendly (e.g., Demo Call, Support Session, Sprint Meeting) and
add a separate Real Time Booking action for each one inside your
assistant. Each action maps to one event type, giving you full control over
what the assistant can schedule.
To add another Real Time Booking action:
- Go to your Assistant and click Actions.
- Under During the call, click + Add and select Real Time Booking again.
- Select Calendly, then choose a different event type from the Event dropdown.
- Click Save.
Repeat this for every event type you want the assistant to handle.
How it works
Once connected, your assistant gains access to two tools:
| Tool | Description |
|---|---|
check_availability | Fetches available time slots for a given event type and date range |
create_booking | Creates a confirmed booking with a Google Meet or Zoom link on behalf of the caller |
The assistant calls these tools automatically during a conversation when a caller expresses intent to schedule a meeting. The confirmation email sent to the caller will include the meeting link (Google Meet or Zoom) generated by Calendly based on the Event Type's location setting.
Example conversation
Caller: Can I set up a 30-minute intro call this week?
Assistant: Of course! I have availability on Wednesday at 10:00 AM and Friday at 1:00 PM. Which do you prefer?
Caller: Wednesday at 10 works.
Assistant: Perfect your intro call is booked for Wednesday at 10:00 AM. You'll receive a confirmation email with the meeting link shortly.
Disconnecting
To remove the Calendly integration:
- Go to Integrations in your dashboard.
- Click Calendly → Disconnect.
- Confirm the action.
Disconnecting will immediately disable the check_availability and
create_booking tools on all assigned assistants.
Troubleshooting
The assistant says no slots are available, but Calendly shows open times. Ensure the Event Type assigned to the assistant is active (not paused or hidden) and that the date range queried falls within your Calendly availability window.
Bookings are created but no meeting link is included. Make sure you selected Google Meet or Zoom as the meeting location during Calendly onboarding or inside the Event Type settings. A meeting link is only generated when one of these is set as the location on the event.
Bookings are failing silently. Double-check that your Personal Access Token has not expired or been revoked. Regenerate it from Calendly's API settings and update the token in your dashboard.
The assistant is booking in the wrong timezone. Verify that the timezone set in your Calendly availability matches the expected timezone of your callers.